The board looks completely awesome.
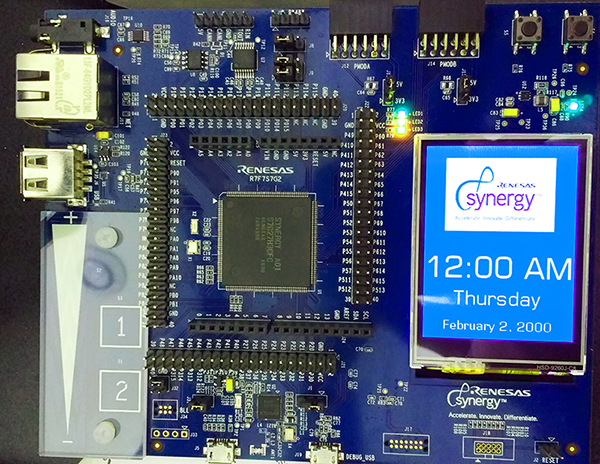
My board came pre-loaded with a demo program with working touchscreen. All the pins are exposed. It really made me want to dig in. I installed e2 Studio and the Synergy Software Package from the Renesas Synergy Gallery.
e2 Studio is based off Eclipse and is a complete, professional environment. I’ve never used Eclipse, coming from two decades of using Emacs and more recently Atom for JavaScript programming.
Due to my lack of familiarity with the toolset, I ran into several problems during the installation and basic configuration of Blinky, The primary issue was version incompatibility.
For e2 studio 5.1.0, I got the template Blinky to work with SSP version 1.1.0 and gcc 4.9.2015q3. The printed Quick Start Guide that came inside the box covered e2 studio 4.1.0, GCC ARM Embedded 4.8.2014, and SSP 1.0.0.
This is what works for me with gcc 4.9 and e2 studio 5.1.0. I’m running this on Windows 10 Anniversary Edition
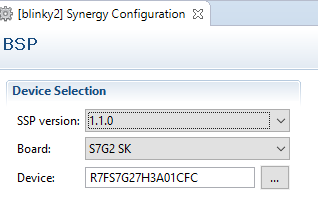
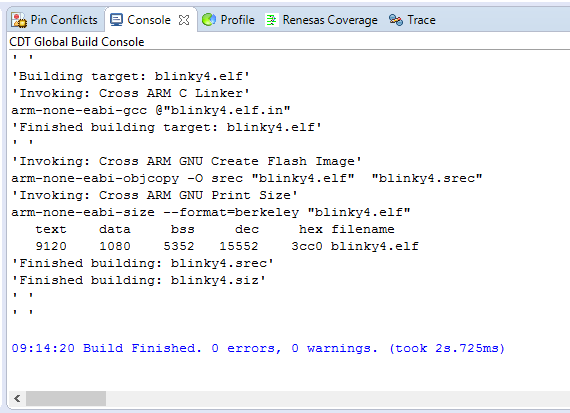
After a few attempts with setting up the project with the proper versions, I got the program to build with no errors. If you run into errors by following the printed tutorial, it’s likely due to version compatibility issues. Try my settings and see if it builds.
At this point, I expected to press debug and have the binary loaded onto the board. No go. The problem appears to be related to my security settings on Windows 10 associated with the USB port. I’ll explain how I got blinky to work. I also just went to Fry’s and bought a spare 128Gb SSD to load Windows 7 on, so I’ll also document that route in the future.
I’m also fairly new to Windows, coming from a few decades of UNIX and Linux. So, you may not have the same problems I encountered.
Debug No Go
When I pressed Debug, nothing happened. No transfer. No error. Nothing. ![]()
I checked the debug settings.
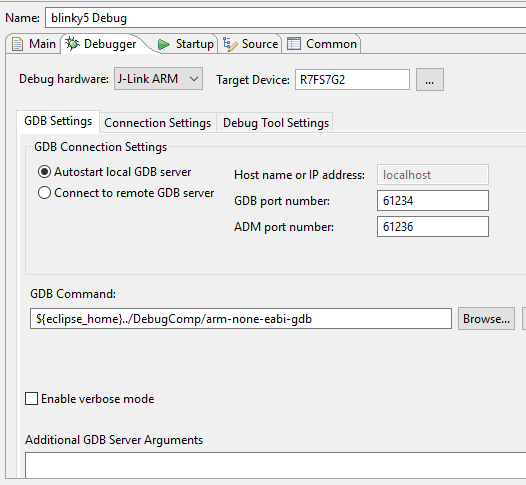
After some research, I learned that the Renesas board is connected to the Windows 10 computer with something called J-Link from Segger. The board has a J-Link onboard debugger built into it that is accessed from the same USB port that the device is powered from.

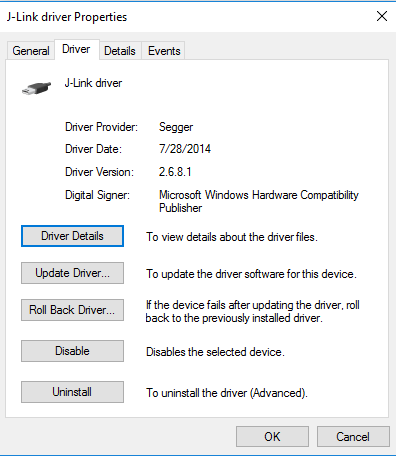
Once I found this out, I checked the J-Link driver in Windows Device Manager.
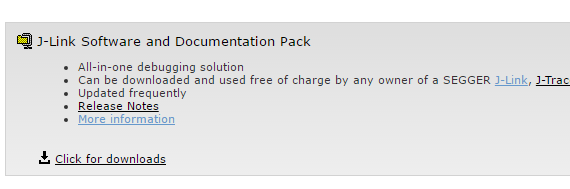
The breakthrough came when I downloaded the J-Link Software and Documentation Pack from the Segger site.
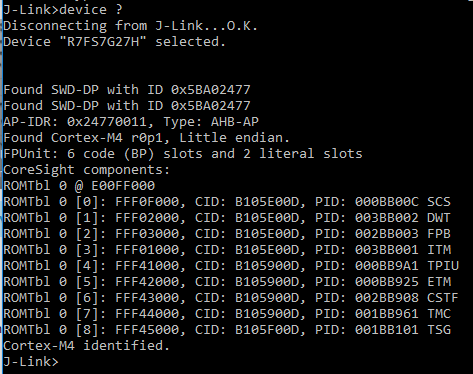
I popped open the Segger tools and immediately felt more comfortable on the command line. I established connection between the board and my Windows 10 box.
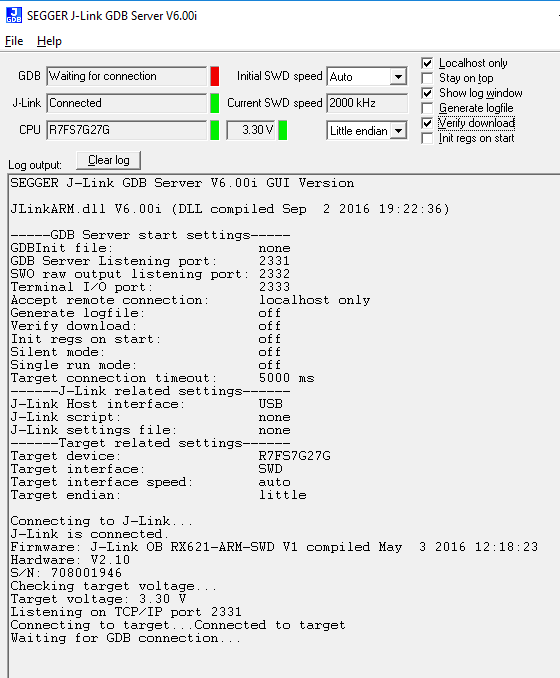
I played around with the gdb server.
Despite not being able to get the e2 Studio debugger to work, I felt pretty good about my progress.
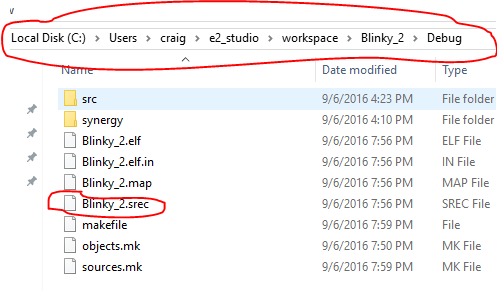
The big breakthrough occurred when I found out that e2 Studio stored a .srec format file in the Debug folder of my project and that the file could be loaded up on the board. e2 Studio stores the workspace under C:\Users\username\e2_studio\workspace\ by default. See the image below.
I decided to use J-Flash Lite.
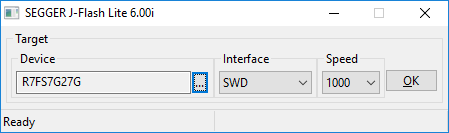
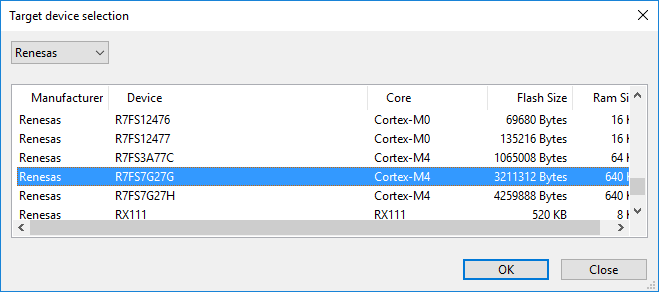
I needed to manually select my target device. In my case, R7FS7G27G
I selected my Data File. In my case, blinky2.srec
I pressed pressed Erase Chip and got an error message. I then started the program as Administrator and it worked. After this one time, the load process works from the account of a normal user.
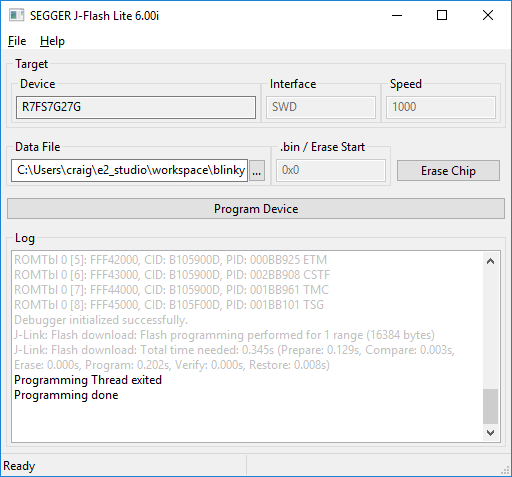
Blinky now works.

We’ll be writing more about cool projects, LEDs, buttons, touchscreen, and hacks to the board. We’re also trying to secure sample evaluation and promotion boards for people interested in joining us on our journey of learning about embedded programming. If you’re interested in getting a free board and are willing to write about your journey, apply below. We only have a limited supply of boards and need to be selective. Contact Jesse Casman if you have any questions.